- Why bands earn a place in the week
- The four band types we make, and what each is actually for
- Fabric hip bands: the lower-body workhorse
- Mini loop bands: the five-minute gym
- Pull-up assistance bands: the strength line
- Pilates flexbands: the gentle end of the range
- A week of band training that actually holds together
- How progression works when the weight is a band
- The mistakes that make people quit bands
- Form and safety, the short honest version
- Care, storage and when to retire a band
- Where to start
A set of resistance bands is the cheapest complete gym most people will ever own. It fits in a drawer, weighs less than a paperback, and covers the same movement patterns a rack of dumbbells covers: squat, hinge, press, pull, carry. We make four different band lines, and after packing thousands of sets we have a clear picture of which band belongs to which job. This page is that picture, written out in full: what each band is for, how to build a week of training around them, and the mistakes that make people quit bands before the bands have done anything wrong.
One promise before we start. Bands are simple, but they are not magic. They load your muscles the same way any resistance does, which means the public health math applies to them the same way it applies to a barbell. Get the sets in, rest the muscle, repeat for weeks. The equipment is the easy part.
Why bands earn a place in the week
The Physical Activity Guidelines for Americans put the target in plain numbers: adults need 150 to 300 minutes of moderate aerobic activity a week, plus muscle-strengthening work on at least 2 days. The NHS guidance for adults reads the same way, asking for strengthening activities that hit all the major muscle groups, legs, hips, back, abdomen, chest, shoulders and arms, on at least 2 days a week.
Those two strength days are exactly where most home routines fall apart. A gym membership solves it with machines. A garage gym solves it with iron. Bands solve it with a pouch on a hook by the door. The point of our whole catalog is to make those 2 days so easy to set up that skipping them stops being the path of least resistance.
Two strength days a week is the floor the guidelines set. A band set that lives in a drawer next to the couch removes every excuse standing between you and that floor.
Bands also do something free weights cannot: the resistance builds through the range of motion. At the bottom of a band squat the tension is light. At the top, where your joints are strongest, it peaks. That profile is friendly to knees and shoulders. It is the reason physical therapists reach for bands first, and the reason our flexbands line exists at all.
The four band types we make, and what each is actually for
The word band covers four different tools in our catalog, and using the wrong one for a job is the fastest way to decide bands do not work. Here is the map.
| Band type | Shape | Resistance | Built for |
|---|---|---|---|
| Fabric hip bands | Wide woven loop, 3 per set | 20-35, 30-50, 45-70 lbs | Glutes, hips, thighs · squats and bridges |
| Mini loop bands | Flat latex loop, 5 per set | 5 levels, light to heavy | Warm-ups, ankles, arms, travel workouts |
| Pull-up assistance bands | Long heavy loop, 5 levels | 5 to 125 lbs across the set | Assisted pull-ups, rows, presses, stretching |
| Pilates flexbands | Long flat open band, 5 per set | 5, 10, 15, 20, 30 lbs | Pilates, barre, therapy, mobility work |
Every set ships with its own carry pouch, and every band in a set is marked or color-coded so you can grab the right level mid-workout without reading anything. The rest of the page walks the four lines in order, heaviest use first.
Fabric hip bands: the lower-body workhorse
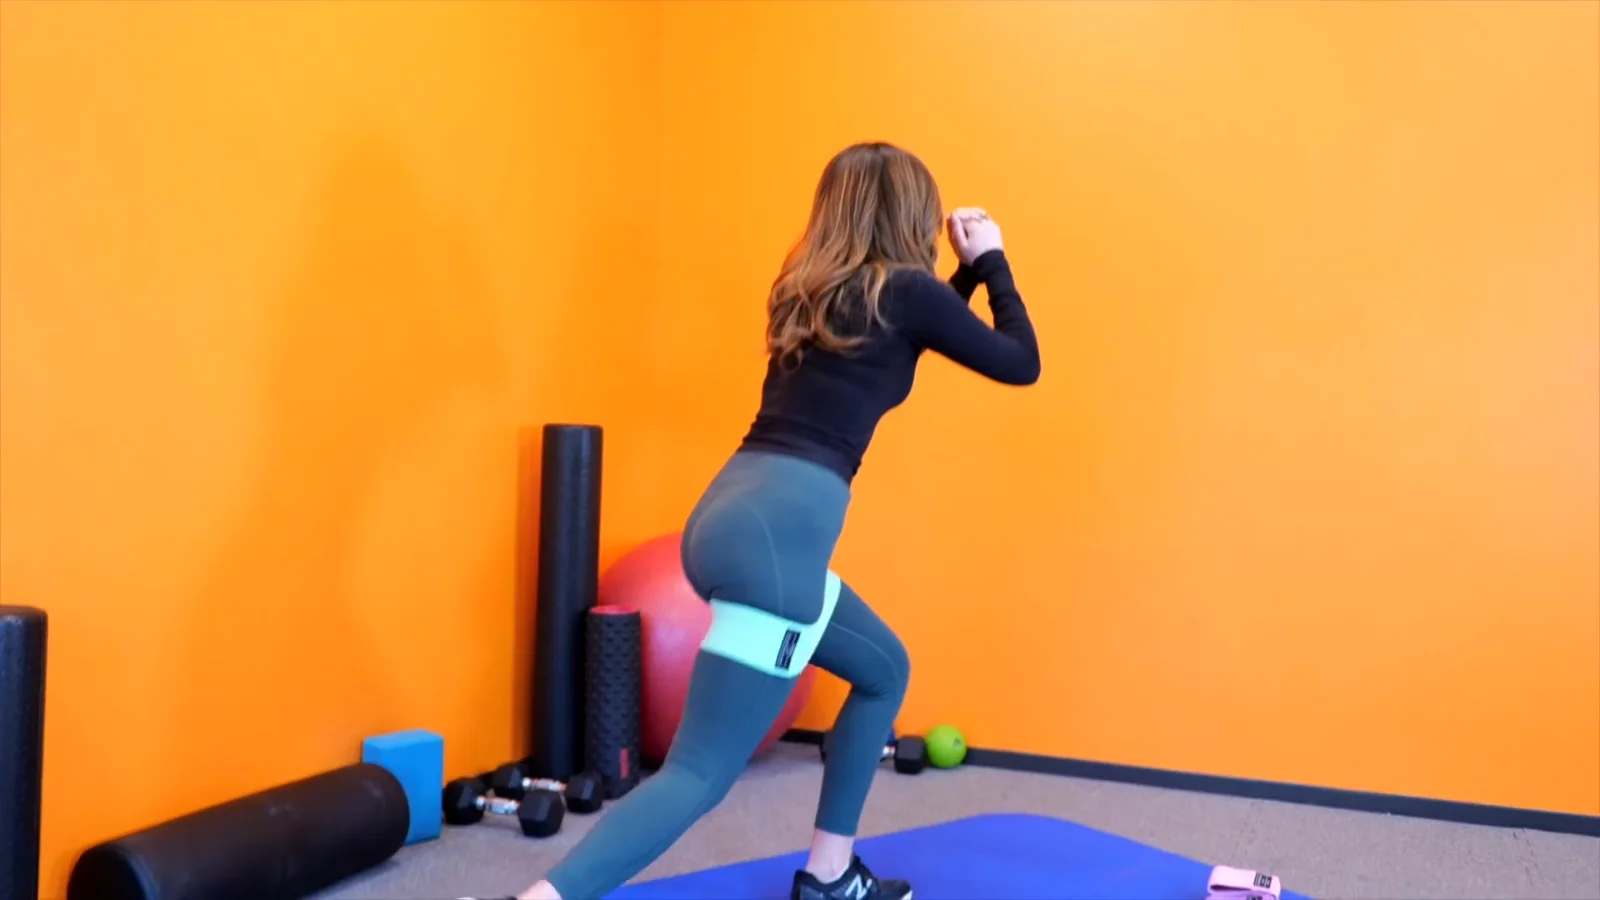
Our fabric hip bands are the line that built Renoj, and the one with the deepest review history. Each set holds three woven loops: light at 20 to 35 pounds, medium at 30 to 50, heavy at 45 to 70. The fabric is the entire argument. A rubber loop under a squat rolls up into a cord and digs into your thighs. A woven band stays flat, grips the leggings, and lets you think about the movement instead of the equipment.
The hip band lives above the knees. Park it there for squats, glute bridges, kickbacks, clamshells, monster walks and fire hydrants, and it turns each of those movements into a targeted glute exercise by forcing your knees outward against tension the whole time. Start every lower-body session with the light band and two warm-up sets. Move to medium for the working sets. Save the heavy band for bridges and hip thrusts, where your glutes are strongest.
One of our customers put the experience better than our own copy does:
I am quite pleased with these resistance bands as they actually give me the burn I was looking for when doing squats and other leg workouts for my thighs and glutes. It is quite sturdy and does not move out of place. (Yari, review of the pink set)
Sizing note, learned from thousands of packed sets: if you are between levels, take the lighter one. A hip band you can control for 15 clean repetitions beats a heavier one that cuts the set short at 6.
Mini loop bands: the five-minute gym
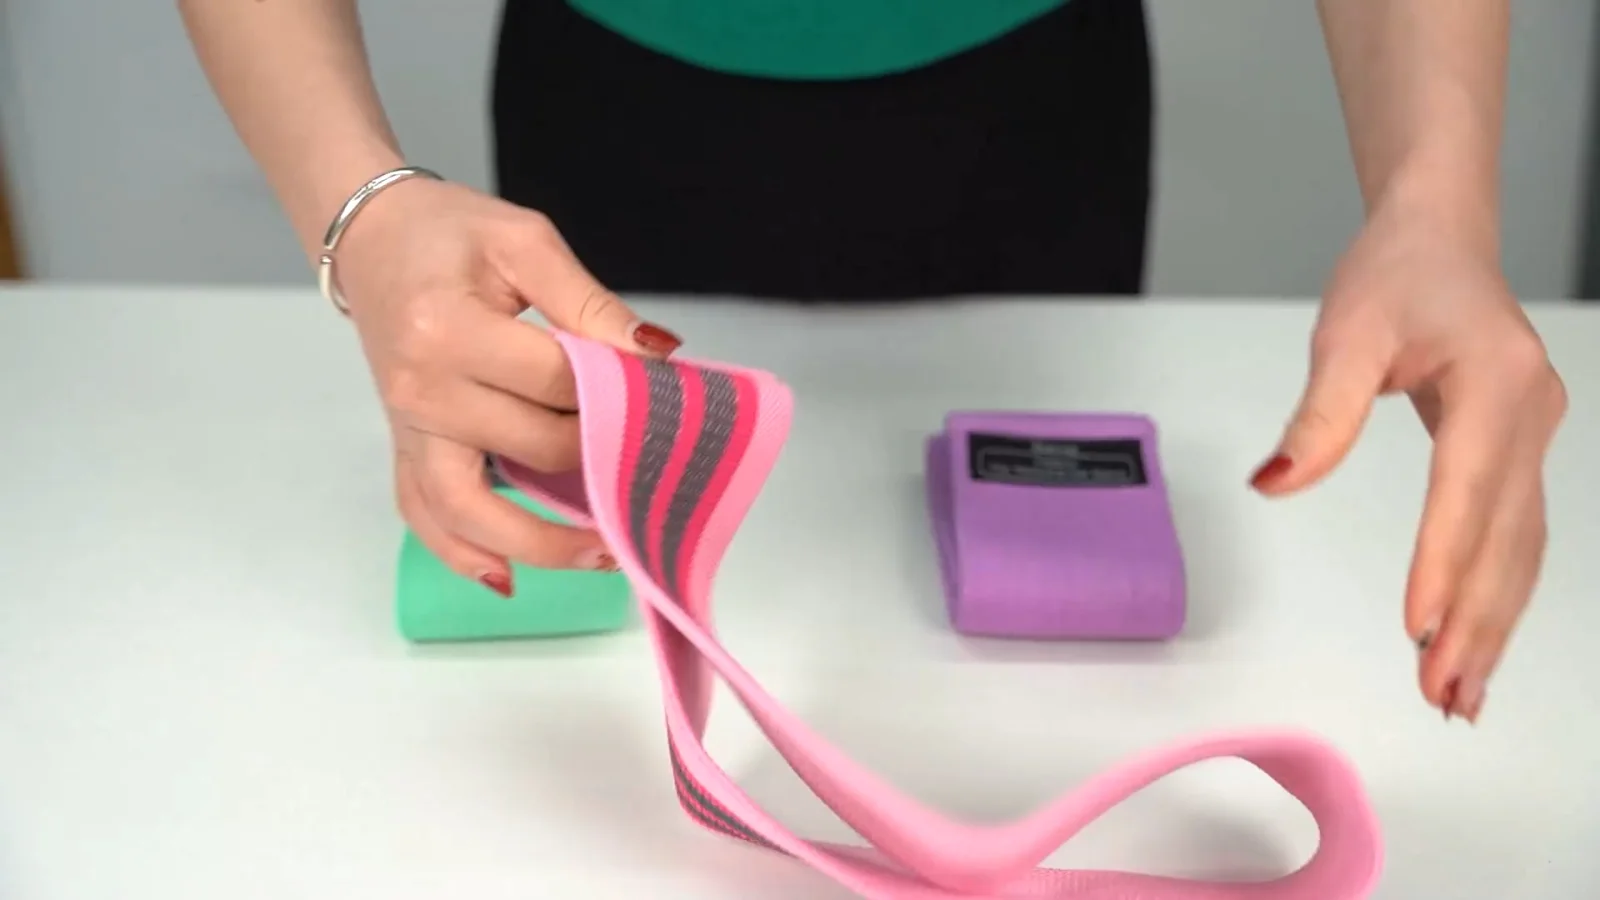
The mini loop is the band most people picture first: a flat natural-latex ring that stretches over ankles, knees or wrists. We pack them five to a pouch, five resistance levels from light to heavy, because a single loop is never the right tension for more than one or two exercises. Light levels serve arms, shoulders and warm-up drills. Heavy levels serve legs, where you are strongest.
The five-pack is also the set we recommend to complete beginners, for a blunt reason: it is the cheapest way to find out what your body actually needs. After two weeks with the loops you will know whether your training leans toward glute work (move to the fabric hip bands), toward strength (the pull-up bands), or toward mobility (the flexbands).
Our brown set deserves a special mention, because its color logic is the catalog's quiet best idea, and a reviewer spotted it immediately:
I bought the brown ones to make it easier to remember which ones are easy and which ones are hard. The lightest beige is the lightest band and the darkest is the one with the highest resistance. (Sonja, review of the brown set)
Every colorway we pack follows a readable order, light shade to dark or cool to warm, so the pouch itself is the instruction manual.
Pull-up assistance bands: the strength line
The pull-up bands are the heavy machinery of the catalog: long, thick loops of latex-free TPE in five color-coded levels, covering roughly 5 to 125 pounds of assistance across the set. TPE matters here twice over. It carries no latex, so the band is safe for people with latex allergies, and it holds its elasticity through heavy daily stretching without the powdery smell rubber bands develop.
The headline exercise is in the name. Loop a band over a pull-up bar, put a knee or foot in the bottom, and the band pays back the pounds you cannot yet lift, most generously at the bottom of the pull where you are weakest. As your back gets stronger you step down through the levels, which is the most honest progress bar in home training: the day you dip below the lightest band, the bands have finished that job.
But treating these as pull-up bands only wastes four fifths of the set. Anchor one under your feet and you have rows, presses, curls and deadlifts. Anchor it to a post and you have the entire cable-machine catalog. One customer summarized the appeal:
Good price. Material seems fine. They do the job I would expect, and I like having the different colors so that I can tell them apart at a glance. (Mike, review of the colorful set)
Pilates flexbands: the gentle end of the range
The flexbands are the only open band we make, a long flat ribbon rather than a loop, in five marked levels from 5 to 30 pounds. Like the pull-up line they are TPE and fully latex-free, and they are deliberately the softest tool in the catalog. Their home turf is pilates, barre, stretching and physical therapy: seated rows for posture, chest presses lying on a mat, hamstring stretches with the band over the arch of your foot, shoulder rehab drills measured in single pounds.
If you are recovering from an injury, working with a therapist, or simply starting from zero, this is the set we point to first. The 5-pound band is light enough for a shoulder that is still healing, and the 30-pound band is honest work for anyone. The two lightest levels also make the best travel warm-up kit we know: they fold flatter than a t-shirt.
A week of band training that actually holds together
The guidelines above ask for 2 strength days as a floor. Here is a 3-day template built entirely from our bands, sized so each session fits inside half an hour. Rest at least one day between strength sessions for the same muscle group. Walking, riding or the vibration plate routine from our vibration plate guide fill the days between.
| Day | Focus | The work |
|---|---|---|
| Day 1 | Lower body | Hip band: squats 3x12, glute bridges 3x15, monster walks 3x20 steps, kickbacks 2x12 each side |
| Day 3 | Upper body | Pull-up band: assisted pull-ups 4x6, standing rows 3x12, presses 3x10 · loop band: pull-aparts 2x15 |
| Day 5 | Full body and mobility | Loop band circuit 3 rounds: squat, side steps, arm curls · flexband: seated rows 2x15, hamstring and chest stretches |
If three days is one day too many for the week you are actually living, run Day 1 and Day 3 and keep Day 5 as the flexible one: it compresses to ten minutes of loops and stretches on a busy evening without breaking the structure. The template survives contact with real life as long as the two anchor days stay planted.
Three rules make the template work. Move slowly, two seconds out and two seconds back, because a band snaps back for free and the return half of every repetition is where the muscle earns its keep. Add repetitions before you add band levels. And write down what you did, even one line. Four weeks of one-line notes will show you progress that memory flattens.
How progression works when the weight is a band
Progress with iron is easy to describe: add plates. Progress with bands confuses people because the number on the band is a range, not a point, and the tension changes through every repetition. Here is the model that makes it simple. Every band has three usable zones: short of stretch, working stretch, and near-limit. The further you stand from the anchor, or the wider you set your feet, the deeper into the band's range you work, and the harder every inch of the movement becomes. That means each single band hides three or four difficulty settings before you ever change color.
So the progression ladder looks like this, in order. First, add repetitions: when 3 sets of 12 feel controlled, build to 15. Second, add range: slow the lowering half, pause at the hardest point for a full second, stand further from the anchor. Third, and only third, change to the next band level and drop the repetitions back down. People who jump straight to the heaviest band skip the two cheapest forms of progress and then blame the tool. The five-level sets are built exactly for this ladder. You should expect to live on each level for weeks, not days.
There is a matching rule for the light end. Do not retire the lightest bands when you outgrow them for main lifts. They keep three permanent jobs: warm-up circulation work before heavy sets, pull-aparts and face pulls for shoulder health, and travel days when any training beats the planned training that did not happen.
The mistakes that make people quit bands
After reading years of customer feedback across every line we pack, the failure stories repeat in a pattern, and none of the pattern is about the bands themselves.
- Buying one band instead of a set. A single mid-level band is wrong for half the exercises a week contains: too heavy for shoulders, too light for hips. The five-packs and the three-level hip set exist because level-switching inside one session is normal, not an upgrade.
- Rubber loops directly on bare skin for squats. That is the hip band's job. The woven fabric set stays put and spares the skin. Match the band to the movement and the complaint disappears.
- Full-speed repetitions. A snapping-fast band rep loads almost nothing. Slow the return half and the same band suddenly earns its resistance rating.
- Treating soreness as the goal. The goal is the log line: same exercise, more repetitions or a deeper range than last week. Soreness fades within weeks. The log keeps rising.
- Storing bands on a sunny windowsill or a car trunk. Heat and ultraviolet light age elastic faster than any workout. The pouch in a drawer preserves the tension you paid for.
Form and safety, the short honest version
Bands are among the safest resistance tools there are, but the failure modes are specific and worth knowing. Check every band for nicks before heavy stretching, especially pull-up bands under full bodyweight. A damaged band tears at the damage point. Anchor to things that cannot move: a door anchor, a post, a bar, never a door handle. Keep bands away from sharp edges, jewelry included. And never stretch a band toward your own face at maximum tension. Sideways release, not backward.
None of this page is medical advice. If you train with an injury, a chronic condition, or through pregnancy, put your physician's or physical therapist's plan above anything written here, our packaging included.
Care, storage and when to retire a band
Latex and TPE both age fastest in sunlight and heat, so the pouch each set ships in is not packaging, it is the storage plan: bands live in the pouch, the pouch lives in a drawer. Wipe fabric bands after sweaty sessions and let them air-dry. The woven sets can take a gentle hand wash. Retire any band that shows a visible thin spot, a tear at the seam, or a resistance drop you can feel. A band is a consumable, like running shoes. Ours are built to age slowly, not to be immortal.
Where to start
If you made it this far without owning a band, the order we would buy our own catalog in is: mini loops first to learn your patterns, fabric hip bands the day lower-body training becomes a habit, pull-up bands the day you want real strength numbers, flexbands whenever mobility or recovery enters the picture. All four lines, current colorways and prices included, live on one page of Renoj resistance bands, which we keep updated on a schedule.
For the rest of the catalog, the same thinking applies: our weighted vest guide covers adding load to walks, and the vibration plate guide linked above covers the machine we build for the days your joints want stimulus without impact.
Every product named above, colorways and current prices included, lives on one page of Renoj training gear, updated on the schedule described on the how-we-update page.
